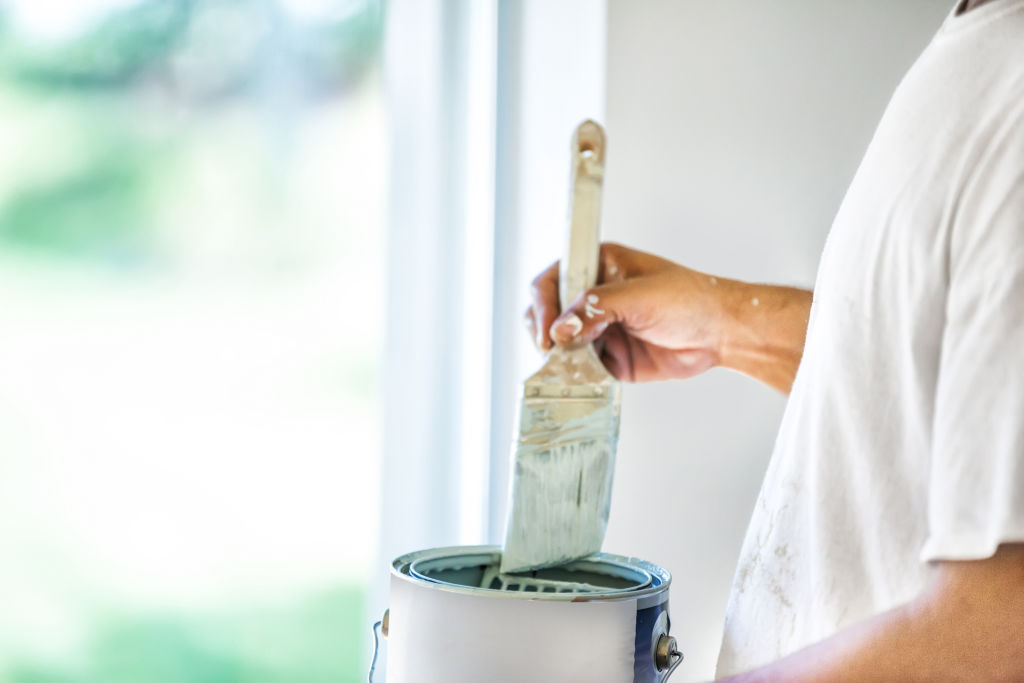
Grab the brushes, prime the walls and tackle a paint project this weekend. Photo: iStock
Painting for beginners: 5 easy projects that can be done in one weekend
Want to liven up your house without breaking the budget? Here’s five painting projects that even a rookie can get done in a weekend.
Try this: Paint your front door
Giving your front door a lick of colour is the perfect starting point for beginners.
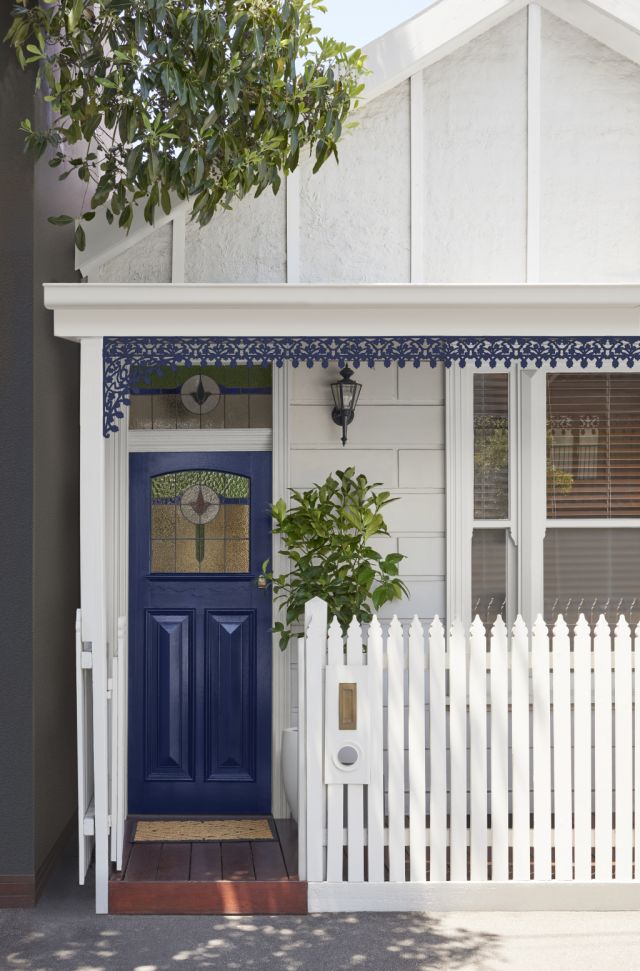
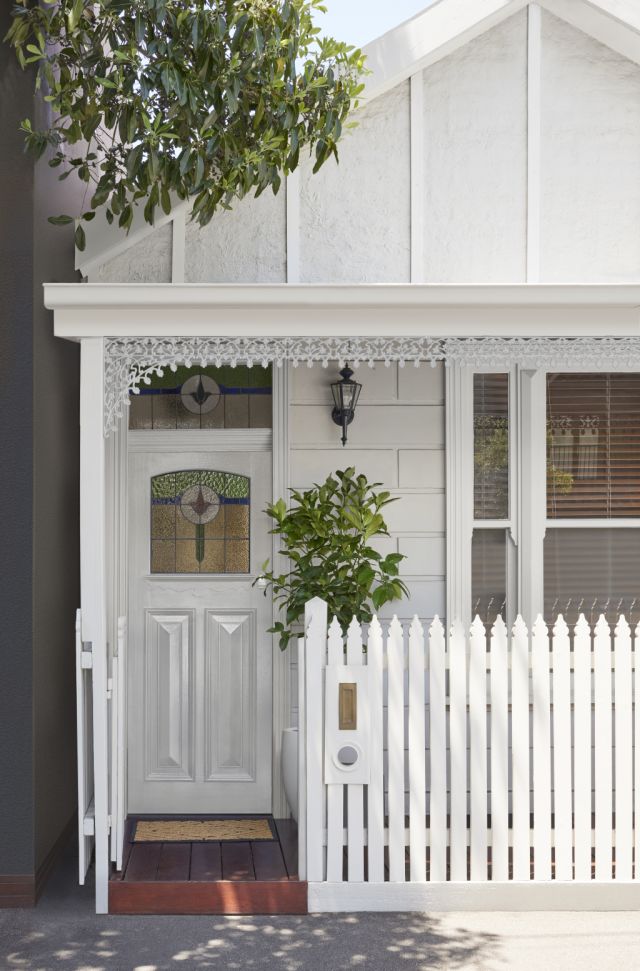
Before and after painting project by British Paints.
“A statement front door is a cool way to really draw attention to your house – one that you can change easily in a couple of seasons when you’ve gotten over it,” says Liam Clark of Tint.
“Feature doors are kind of the new feature wall – they’re smaller, they’re easy to do and it doesn’t require quite as much preparation.”
You’ll need: A good-quality, high-density foam roller (100mm), a quality brush (50mm), about a litre of water-based door and trim paint, a door jamb, some cardboard or newspaper to place under the door.
Tips:
- Paint the outside face of the door only
- Go for a water-based semi-gloss paint
- Do an undercoat, followed by two coats over the top
- Wait two hours for each coat to dry. It will take a full week for the paint to fully cure, so go easy on your door until then.
Try this: A half-wall in your bedroom
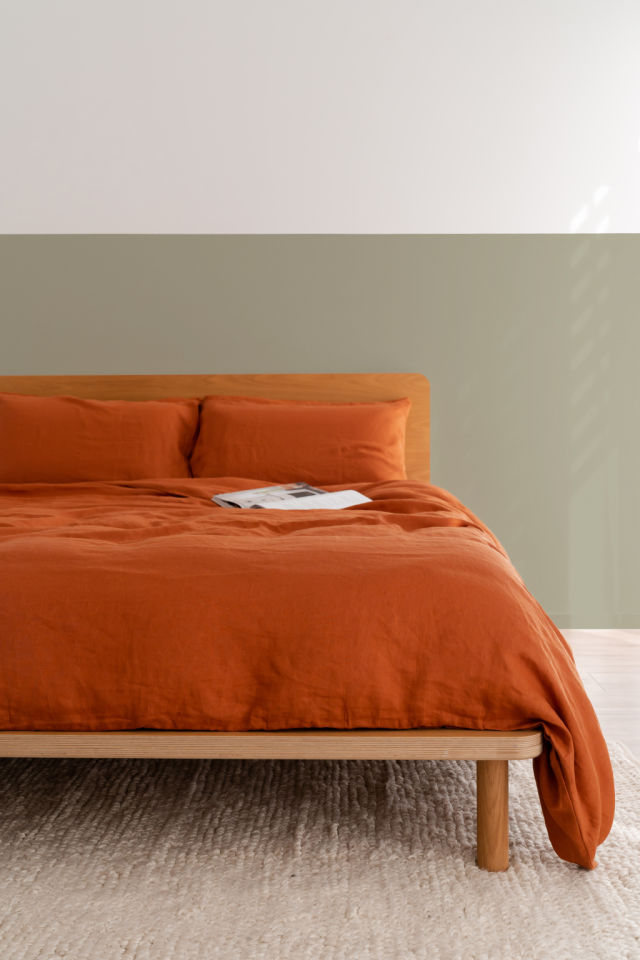
“Something that’s really on trend right now is doing half-walls,” Clark says. “They’re nice and easy because you don’t have to get step ladders, you don’t have to get extension poles – you can just do small sections.”
You could choose to paint a half-wall on a single wall, two walls – or all of them.
Clark notes that dusty greens are all the rage right now, ranging from light sages to deep eucalypts.
You’ll need: A spirit level or measuring stick (even a broom handle) to plot out your line, masking tape/painter’s tape, a litre of low-sheen, water-based paint, a wide roller (230mm), a cutting-in brush, drop sheets or newspaper.
Tips:
- Don’t go for the cheapest masking tape as you’re less likely to get a clean edge
- For a crisp edge, remove the tape within half an hour of the final coat
- Mucked up the line? Reapply your tape a couple of centimetres higher and try again.
Try this: Have fun with polka dots
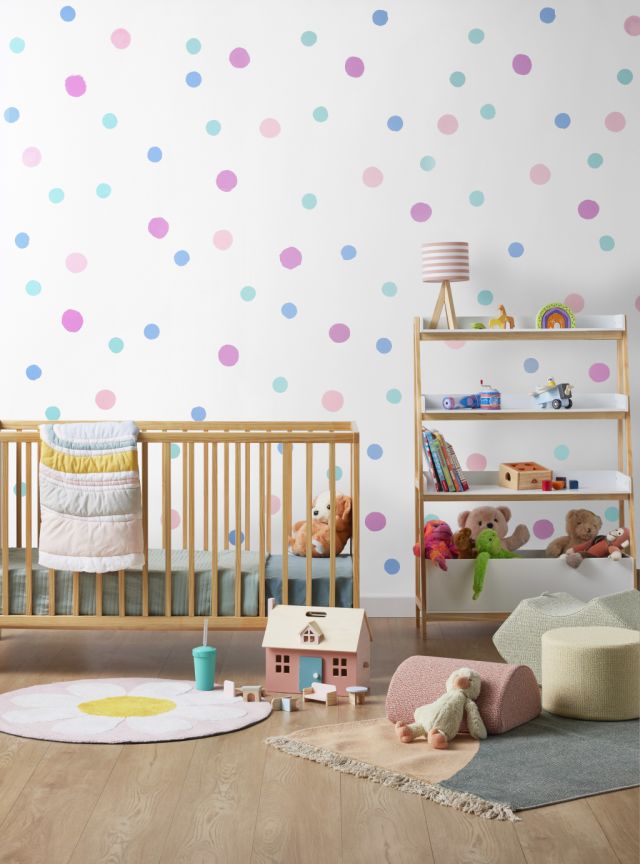
Want to add some fun to your kids’ furniture or bedroom walls?
British Paints’ Carmen Jordan says you could start by creating a few “stamps”: just grab a couple of thick sponges and trace circles onto them using glasses of different sizes. Then, cut your sponges carefully using scissors or a blade.
“Clean the surface you want to paint using water and sugar soap,” she says. “Once done, pour your sample-pot colours onto paper plates or paint roller trays.
“Next, dip your sponge into the paint and have a play with twisting it around to prepare for stamping onto the wall.”
Now, you’re ready.
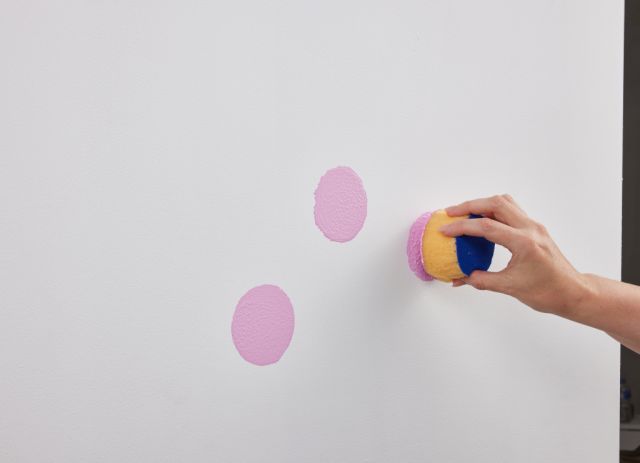
You’ll need: Old sponges, scissors or a blade, a marker, paint sample pots, sugar soap, paint roller trays.
Tips:
- For best results, keep switching between “stamp’ sizes” colours and patterns
- Take a step back to check your progress and identify errors.
Try this: Hallway runner table
Revamping a hallway runner table with chalk paint is an ideal beginner’s project. Photo: Haymes Paint
Want to breathe some new life into an old piece of furniture?
Wendy Rennie, of Haymes, says revamping a hallway runner table with chalk paint is an ideal beginner’s project.
“Because of the nature of the paint it’s really fool-safe,” she says.
Start by removing handles and the like, and scrub it clean before repairing any imperfections with timber filler.
Your table will need two coats, and perhaps a sealer on top – then wipe with a soft muslin or cotton cloth.
You’ll need: Chalk paint, masking tape, 180-grit sandpaper, sanding block, paintbrush, timber filler, sealer.
Tips:
- Preparation is key
- Make sure your tools – for example, your roller – fit the scale of the project
- Mask any parts of the table you want to keep paint-free.
Try this: Rejuvenate an old outdoor dining table
Dreaming of spring already? Get on the front foot by giving your old outdoor dining furniture a refresh.
Rennie says there’s minimal preparation involved in this project, particularly if you don’t mind the rough-sawn look.
Simply give the table two coats of paint and then sit back and admire your handiwork.
You’ll need: A paintbrush (about 63mm), low-sheen acrylic or water-based paint, clean rag, sandpaper, drop sheet, stirring stick.
Tips:
- To avoid bubbles, make sure your surface is clean and dry
- If you choose to sand the table, opt for an orbital sander.
article by domain.com.au